This page contains affiliate links to Amazon. As an Amazon Associate I earn from qualifying purchases.
DJI series drones like an Inspire, Phantom, or Mavic have the option to automatically take photographs at a timed interval. This option is called timed shots. Using timed shots can be used to take multiple photographs while in flight without needing to constantly stop and tap the shutter button. Timed shots can also be used to create a time lapse by having the drone hover and continuously taking photos.
Steps To Turn On Timed Shots
The following steps were written using the DJI Phantom 4 Pro V2. The other DJI drones like the Inspire or Mavic series will have the same or similar steps.
- Open the DJI GO 4 app.
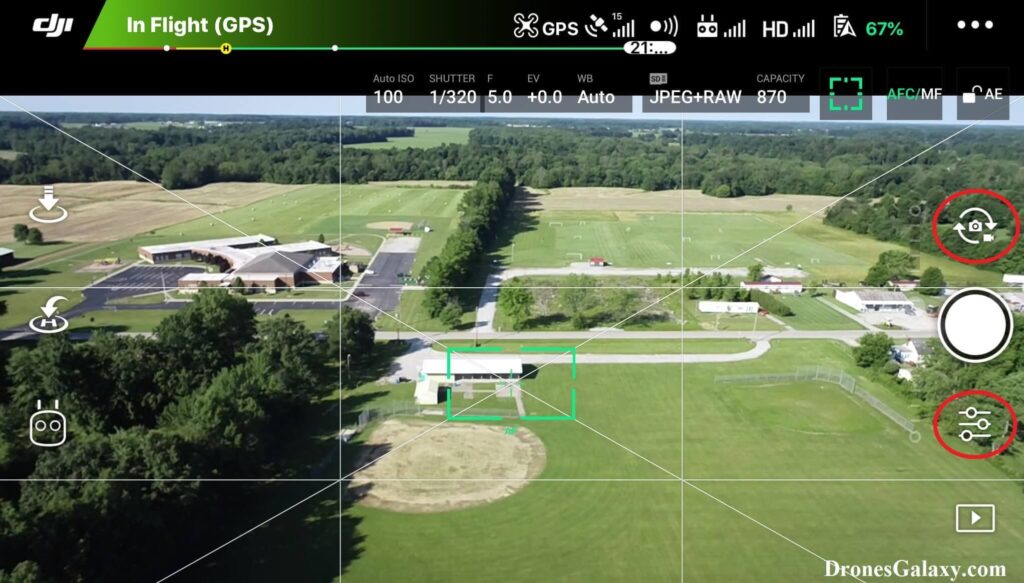
- If needed switch to photo mode. If the icon above the shutter button is a video camera, then click the icon. When in photo mode the icon will be a photo camera instead of a video camera.
- Tap the settings button under the shutter button.
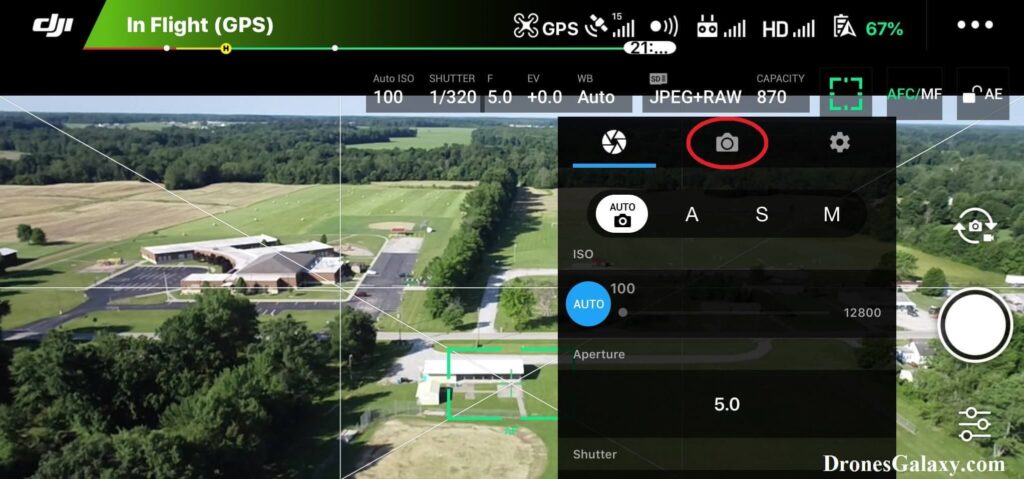
4. The camera settings menu will open. Click the camera icon in the middle.
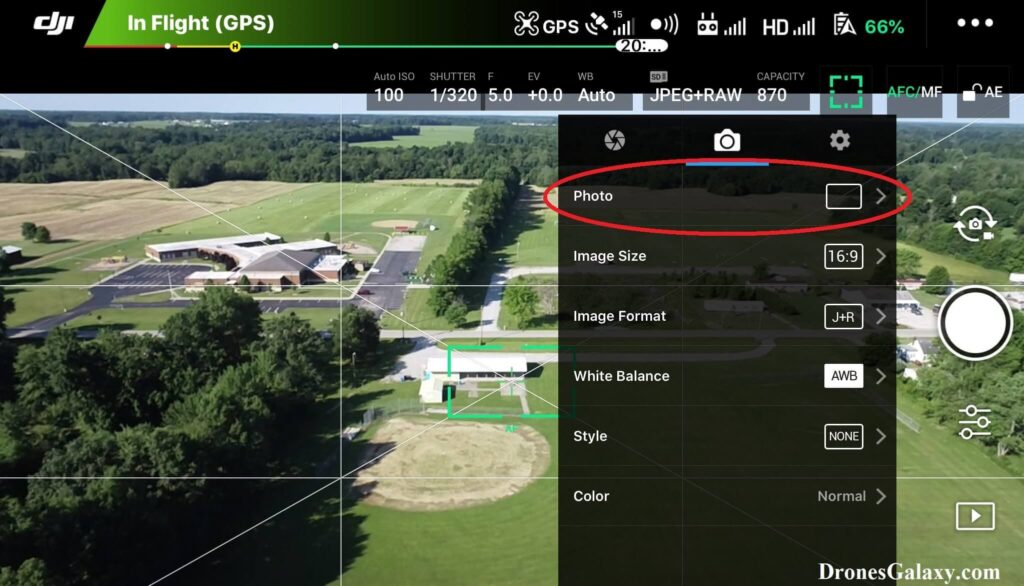
5. Tap the Photo button.
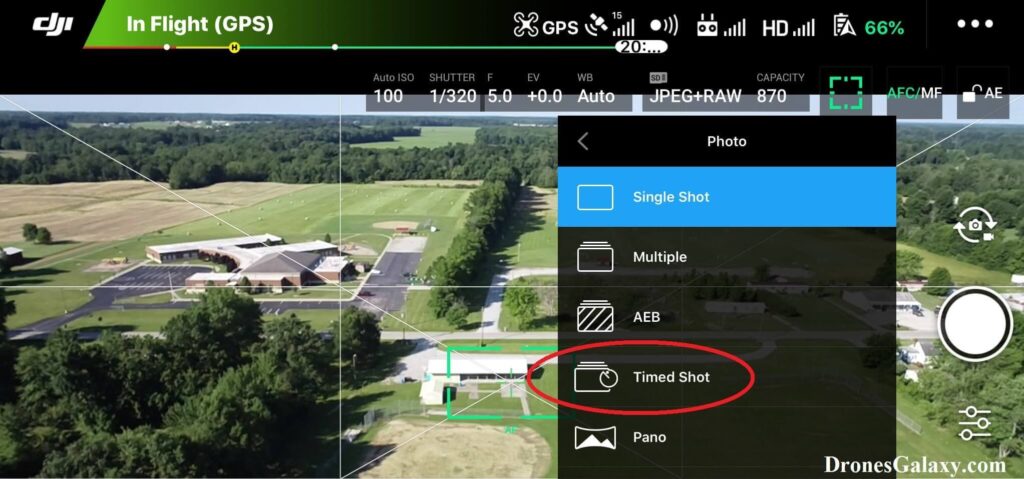
6. Tap Timed Shot.
7. Select an interval of seconds between taking photos.

8. When you are ready to take timed shot photos click the shutter button.
9. While timed shot photos are being taken you will see a countdown timer on the screen. After the timer shows 1 a photo will be taken.
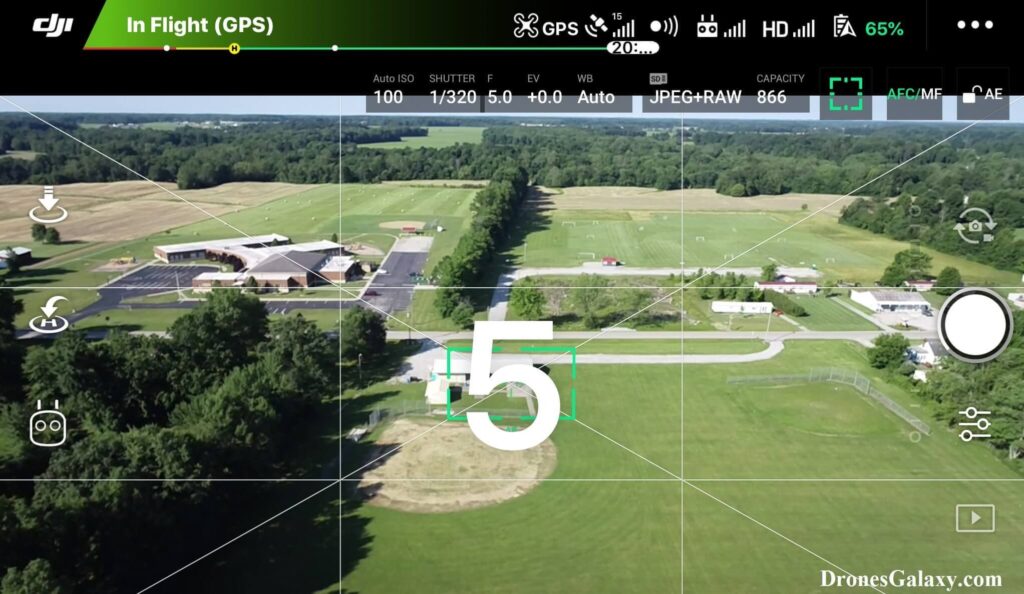
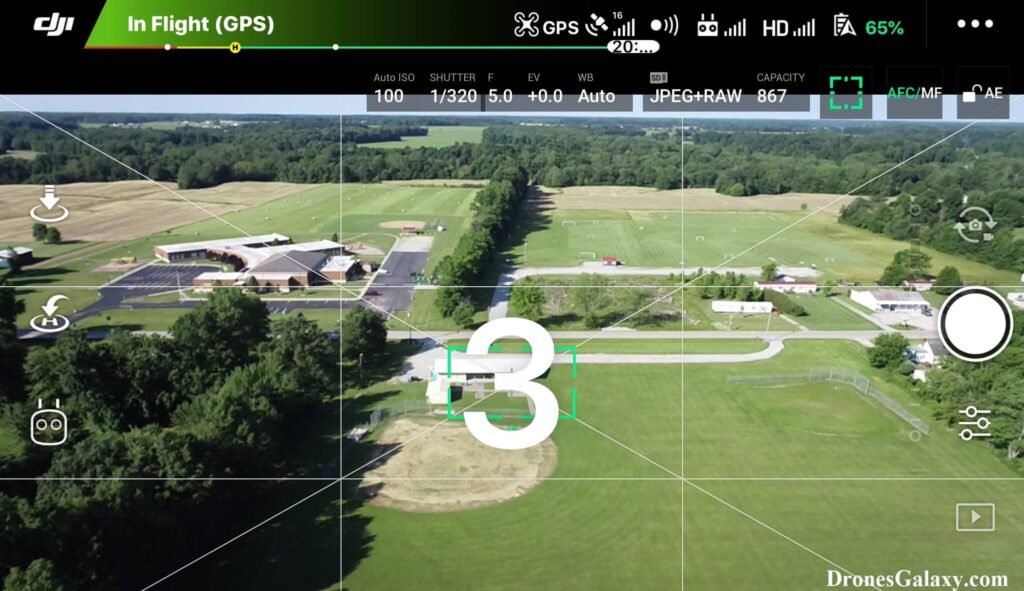
10. When in timed shot mode the drone will continue taking photos at the selected interval. To stop taking photos click the shutter button.
Changing Back To Default Single Shot Photo
If you decide to go back to the default photo setting then follow steps 3 – 5 again and then click Single Shot.
Conclusion
The above instructions are used to take continuous aerial photos at a timed interval. These timed shot photos can then be used to create a time lapse using post production software.
You may also be interested in this article: DJI Drones – How To Take Multiple Photos With One Click
Here are some more articles you may be interested in:
Review Of KINBON Drone Landing Pad
Review Of Smatree Phantom 4 Battery Charging Hub
Six Simple Accessories To Improve Aerial Photo/Video Flights