This page contains affiliate links to Amazon. As an Amazon Associate I earn from qualifying purchases.
Steps To Change NTSC/PAL
The following steps were written using the DJI Phantom 4 Pro V2. The other DJI drones like the Inspire or Mavic series will have the same or similar steps.
- Open the DJI GO 4 app.
- Make sure the video icon is selected above the red record button instead of the photo icon.
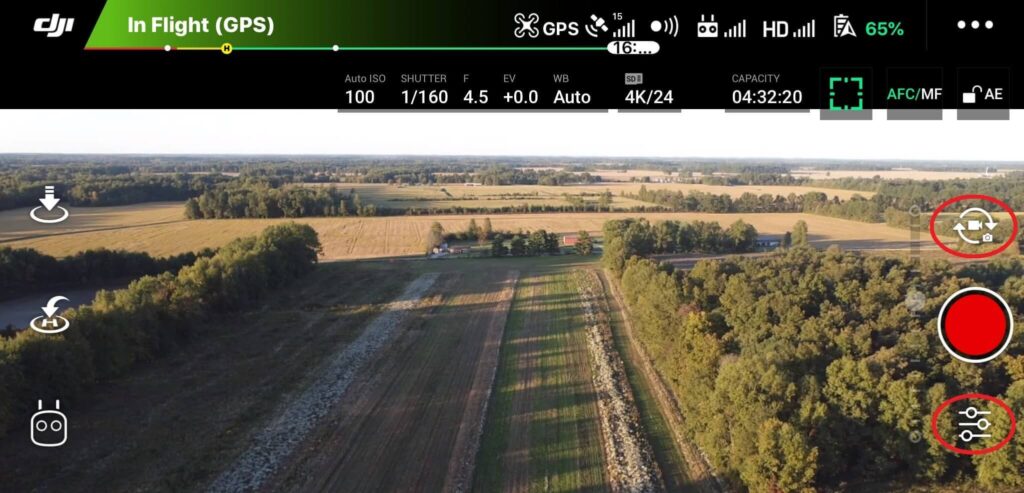
- Tap the camera settings button. The camera settings button is under the red record button and is highlighted with a red circle in the image below.
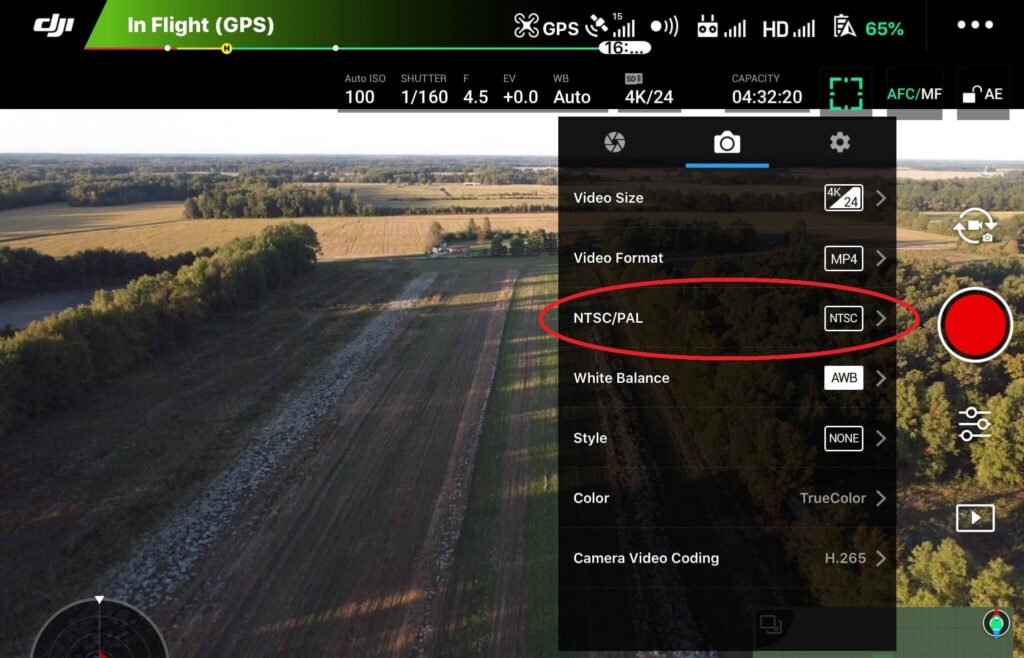
4. The camera settings menu will open. Click the camera icon in the middle.

4. Tap NTSC/PAL.
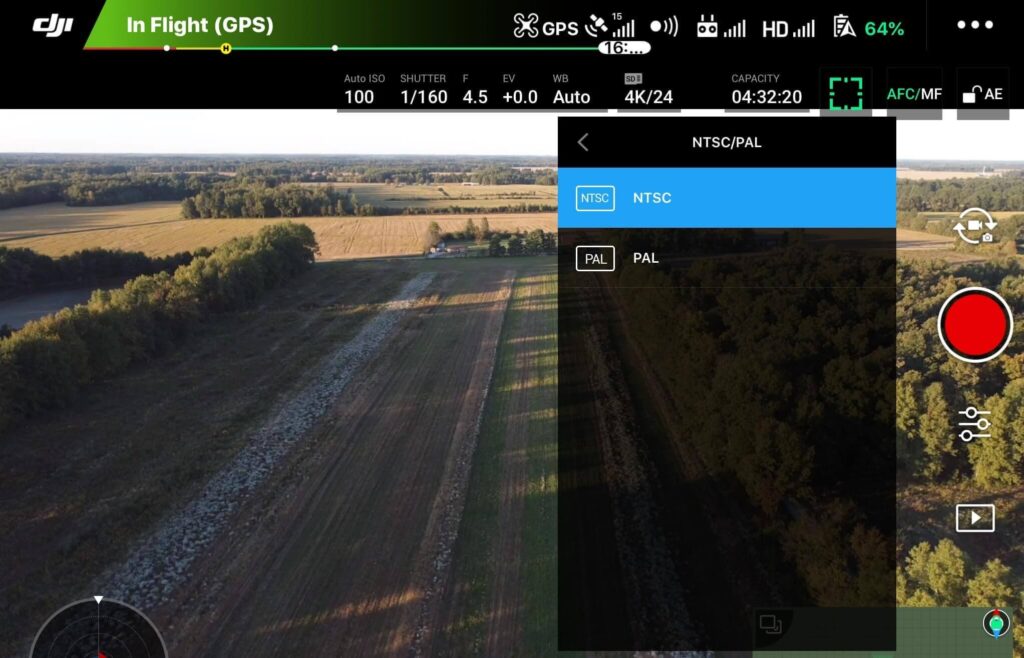
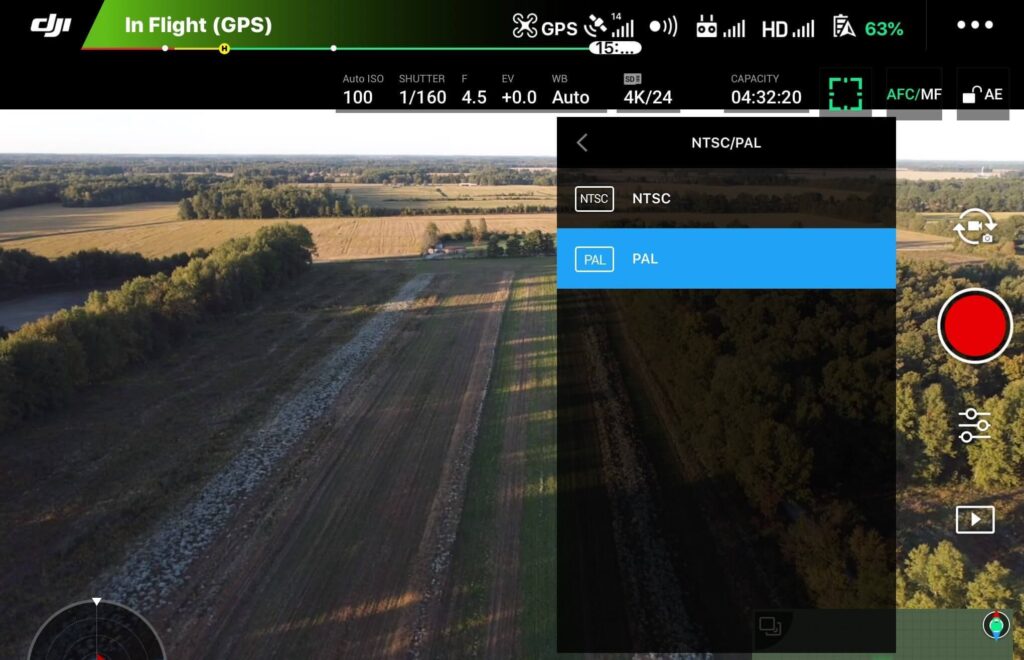
5. Select NTSC or PAL.
6. A warning message will be displayed that the camera needs to be restarted to switch modes. Tap OK to continue.
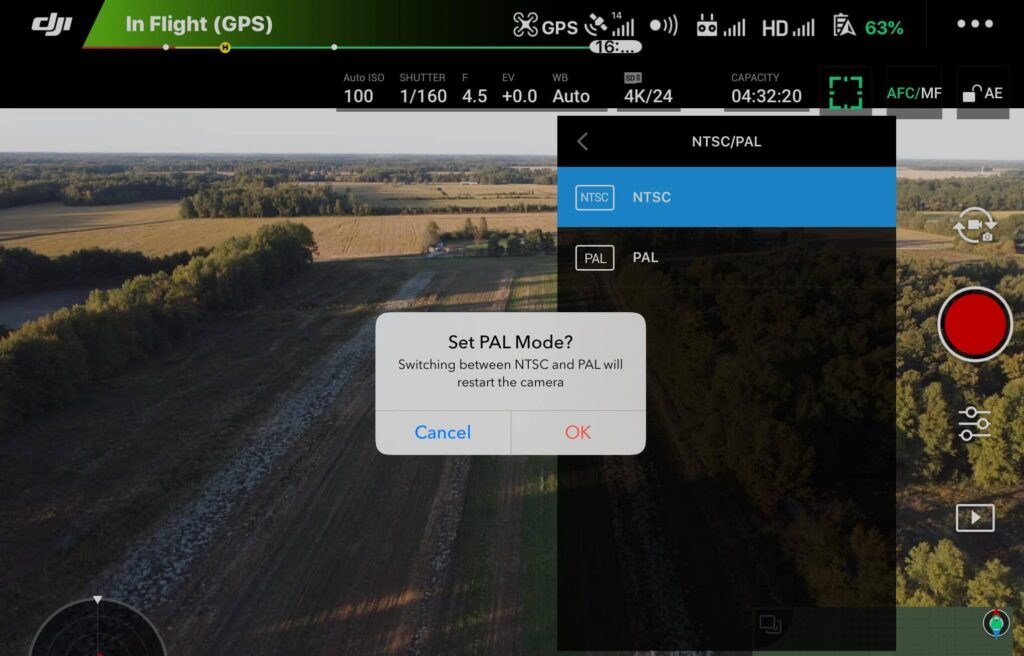
7. After the camera restarts the new mode will be selected.
Check out this post on which video format (MOV or MP4) is best for you and how to change it: DJI Drones – How To Change Video Format (MOV or MP4)
Here are some more articles you may be interested in:
Review Of KINBON Drone Landing Pad
Review Of Smatree Phantom 4 Battery Charging Hub
Six Simple Accessories To Improve Aerial Photo/Video Flights