This page contains affiliate links to Amazon. As an Amazon Associate I earn from qualifying purchases.
While taking aerial photos or videos, grids can be used to apply the rule of thirds to your subject.
DJI drones have the following options for grid lines:
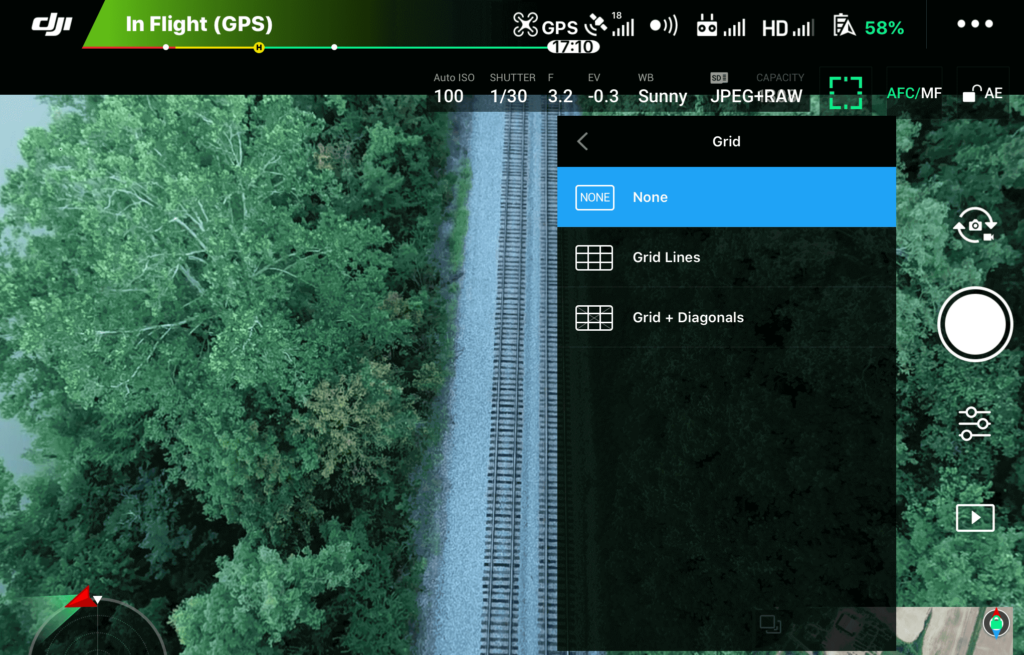
- None – This is the default.
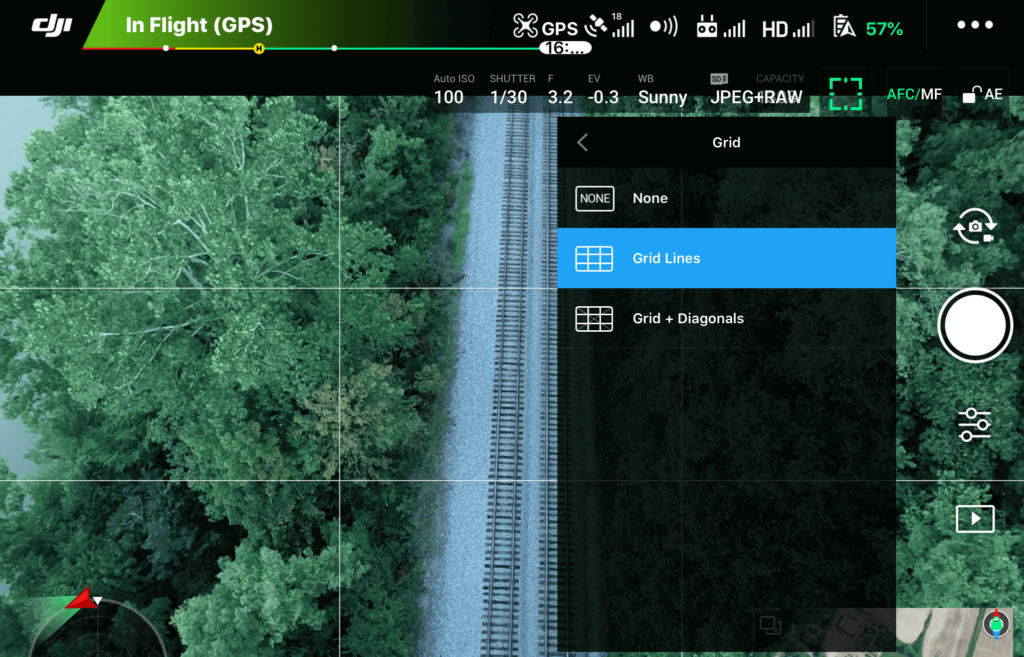
- Grid Lines – This divides the display of the DJI Go App into 3 X 3 rows of squares.
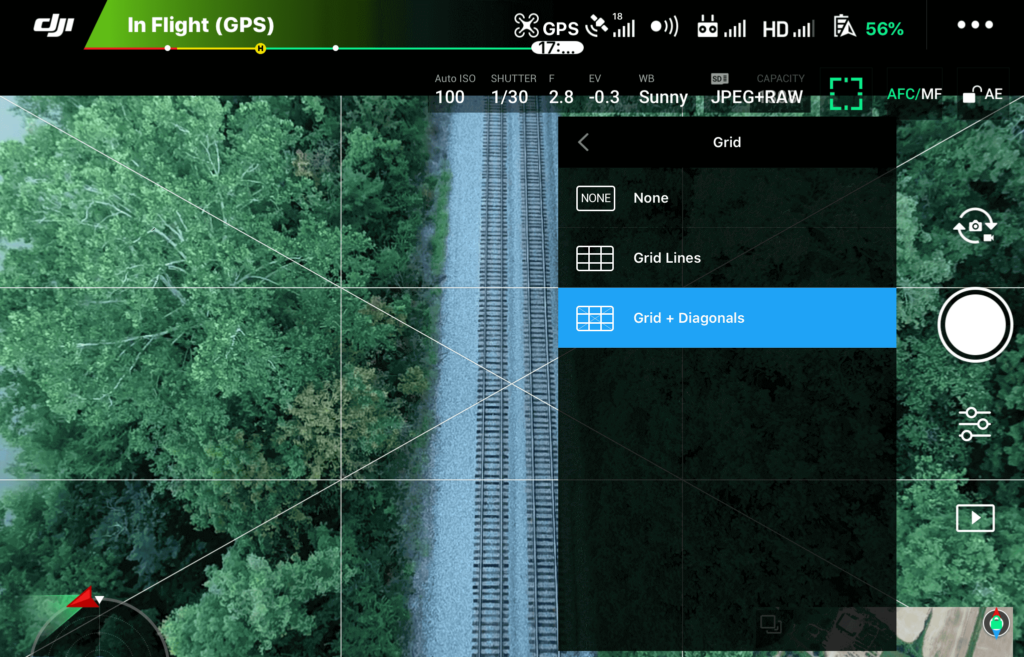
- Grid + Diagonals – This divides the display of the DJI Go App into 3 X 3 rows of squares with an X that shows the where the exact center of the screen.
Steps To Turn On Grids
The following steps were written using the DJI Phantom 4 Pro V2. The other DJI drones like the Inspire or Mavic Series will have the same or very similar steps.
- Open the DJI GO 4 app.
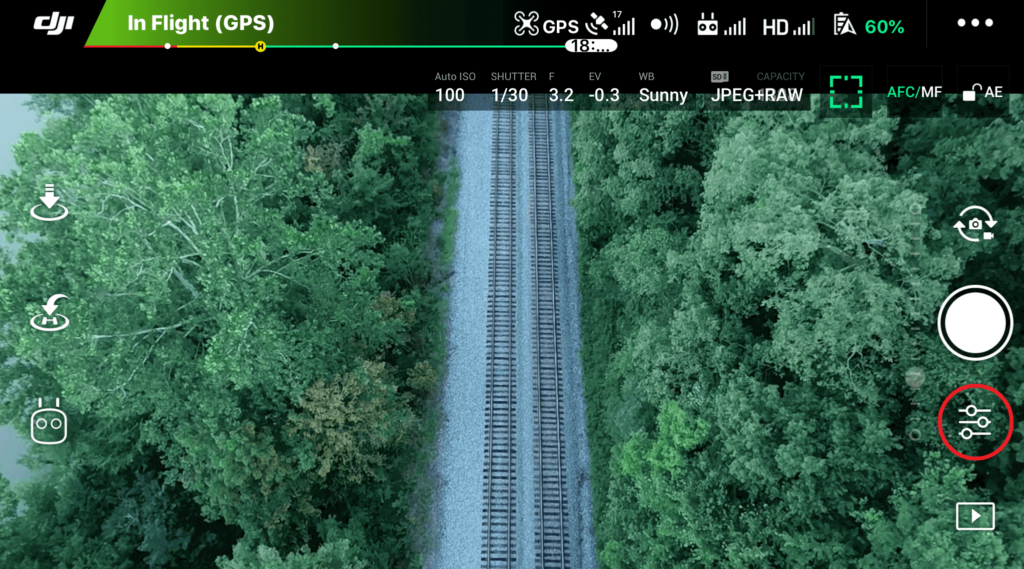
- Tap the camera settings button. The camera settings button is under the shutter/record button and is highlighted with a red circle in the image below.
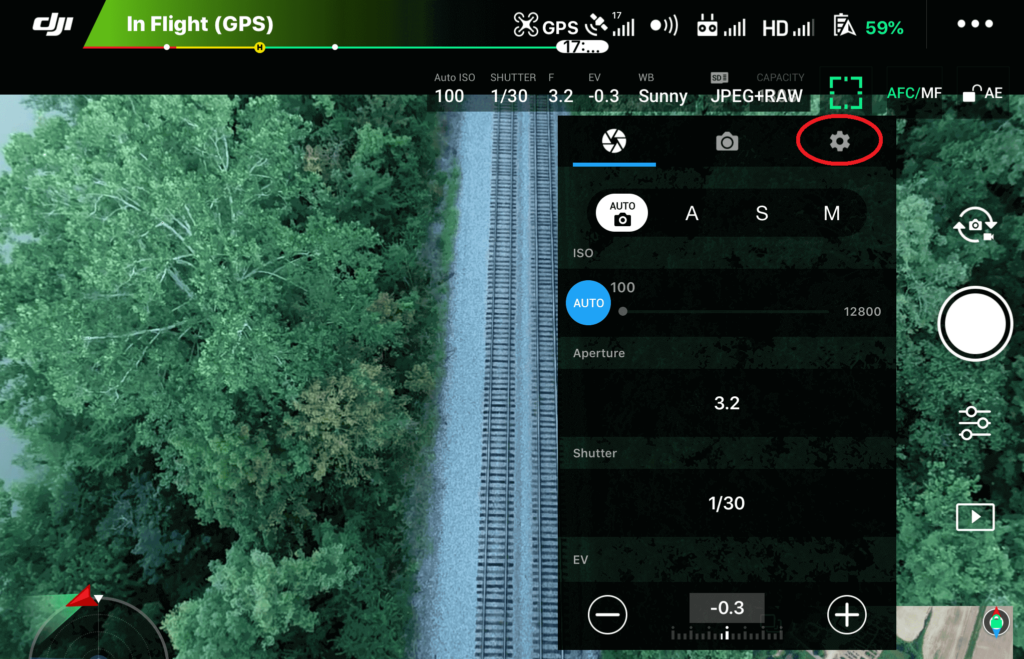
3. The camera settings menu will open. Click the gear icon on the right.
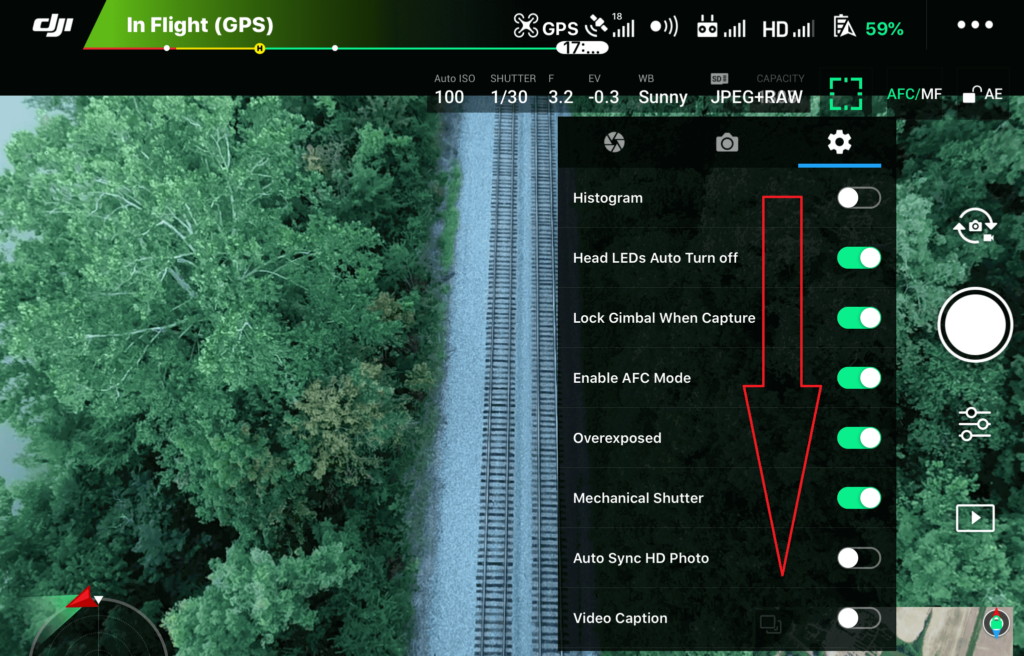
4. Scroll down this menu.
5. Click Grid.
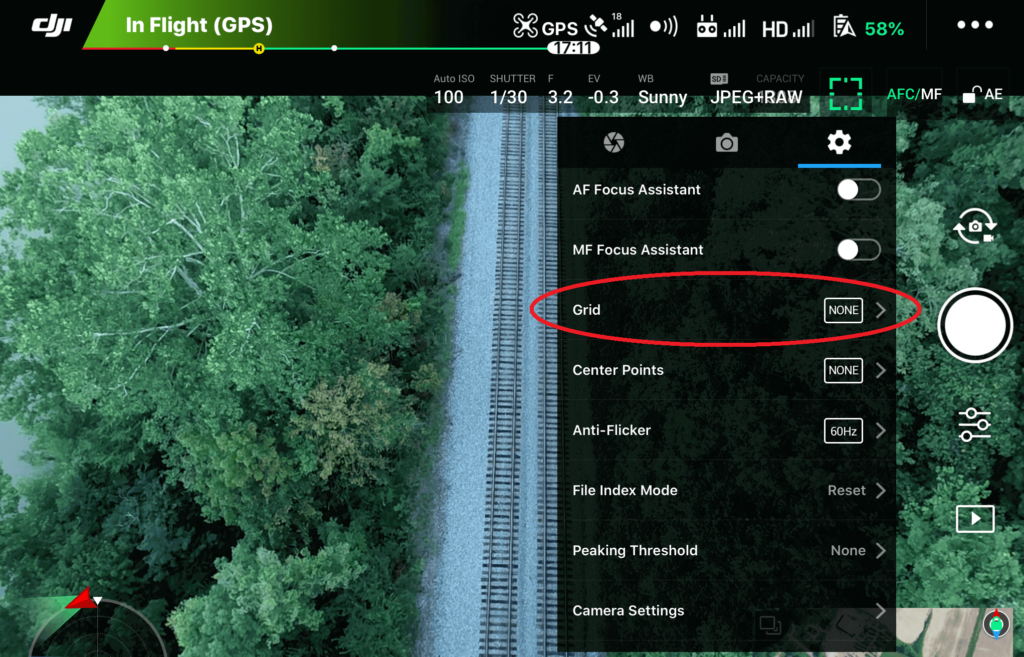
6. Click Grid Lines or Grid + Diagonals.
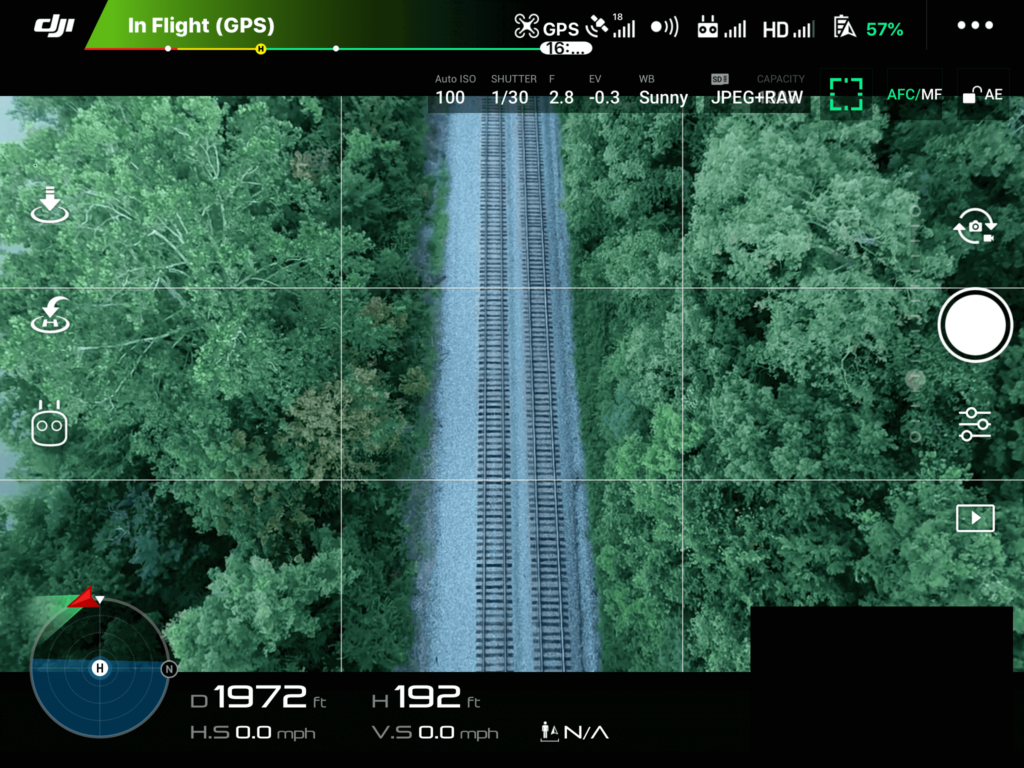
7. Click anywhere on the main screen to remove the camera settings menu. The screen will now show the grid lines for the option that was selected.
Below is an example of the Grid Lines option.
Below is an example of the Gird + Diagonals option.

Conclusion
Using grids is a way to improve your aerial photos and videos by being able to center the shot on what you are focusing on or using the rule of thirds.
You can also check out a similar post on using center points to improve aerial photos and videos.
Here are some more articles you may be interested in:
Review Of KINBON Drone Landing Pad
Review Of Smatree Phantom 4 Battery Charging Hub
Six Simple Accessories To Improve Aerial Photo/Video Flights